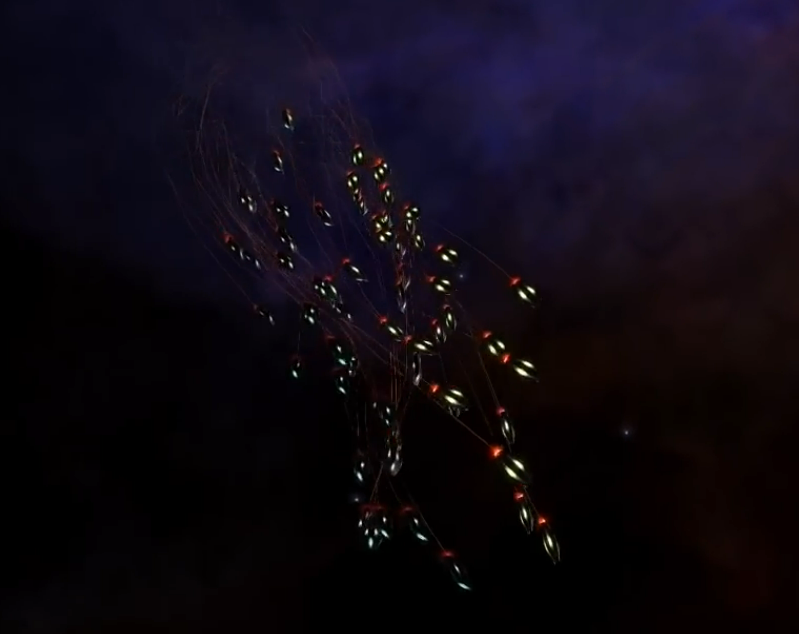
¶ Thargon Swarms
Each Interceptor can deploy and control a Thargon swarm, consisting of 32, 64, 96 and 128 Thargons for Cyclops, Basilisk, Medusa and Hydra variants respectively.
During planetary engagements, the Interceptor will not deploy swarms.
The Thargon swarm has two methods of inflicting damage:
-
Caustic projectiles that do heavy damage to shields and penetrate them, dealing hull damage. Against shieldless targets, these projectiles are very inaccurate and the swarm will miss most of its shots. Heat signature does not visibly affect their accuracy, but rapidly changing your vector or rolling will protect you somewhat. This attack has a maximum range of around 2km. Despite the name, these do not apply caustic stacks but rather deal caustic damage, which is effected by modules such as the Guardian Hull Reinforcement Package.
-
Kamikaze missiles that kill the individual Thargon, but inflict massive hull and module damage. The missiles are fast (roughly 600m/s) but short-lived. Against an unshielded target, these will do tremendous damage, but a shielded build with 4 pips to SYS should survive a regular missile volley with relative ease. Without shields these can potentially 1-shot modules even through a Guardian Module Reinforcement Package. These missiles appear to do collision damage, as they do not interrupt synthesis or reboots. This attack triggers within 3km range, and only if the swarm is in missile formation.
If a non-aggressive Interceptor’s personal space is invaded (500m), it will deploy a warning swarm as well as glow red and ‘threaten’ the pilot who got too close. This swarm will not immediately attack, but instead will circle around the Interceptor, ready to engage at a moment’s notice. If the threat backs away, the Interceptor will recall the swarm and continue its previous actions. If it does not, the swarm will detach and the battle begins.
If a non-aggressive Interceptor is shot or rammed, a hostile swarm will immediately be deployed and the interceptor will attack.
¶ Deployment Mechanisms
The Thargoid Interceptor will always try to deploy a swarm when it enters combat, furthermore it will do the following:
In addition to the first swarm launched at the start of the fight, the Interceptor can deploy another one for every heart it loses (only one may be deployed at a time). If there is an existing swarm and a heart is destroyed, the Interceptor will ‘bank’ one swarm (and only one, it can’t bank multiple) and release it immediately upon the destruction of the existing one.
The Interceptor may send out a ‘refill’ call at any time, usually if the swarm is low in number, which will cause the swarm to respond with a screeching sound and return to the Interceptor completely refilling its numbers. This does not count against the banked swarm, and there doesn’t have to be a banked swarm for a refill to happen.
Refill calls are much more rare since Update 15. Sometimes only happening if the swarm is in agitated state.
If the Interceptor loses interest due to losing your signature it will recall the Swarm fully in preperation to jump out, be mindful of that.
After some time passes without a heart being destroyed, the Interceptor will enter an ‘enraged’ state. The timer for this is 6 minutes for the Cyclops, 7 minutes for the Basilisk and Medusa, and 8 minutes for the Hydra. The timer starts the moment the Interceptor enters combat, and is reset every time a heart is destroyed.
- Enraged Interceptors will continue releasing replacement swarms immediately upon one’s destruction.
- If a Thargon swarm is in missile formation and a kamikaze missile attack is triggered, the entire swarm will turn into missiles at the same time. This attack is usually fatal unless avoided.
- Interceptor enrage does NOT mean the swarm will be agitated by default. You can prevent any kamikaze missiles from triggering by not agitating the swarm.
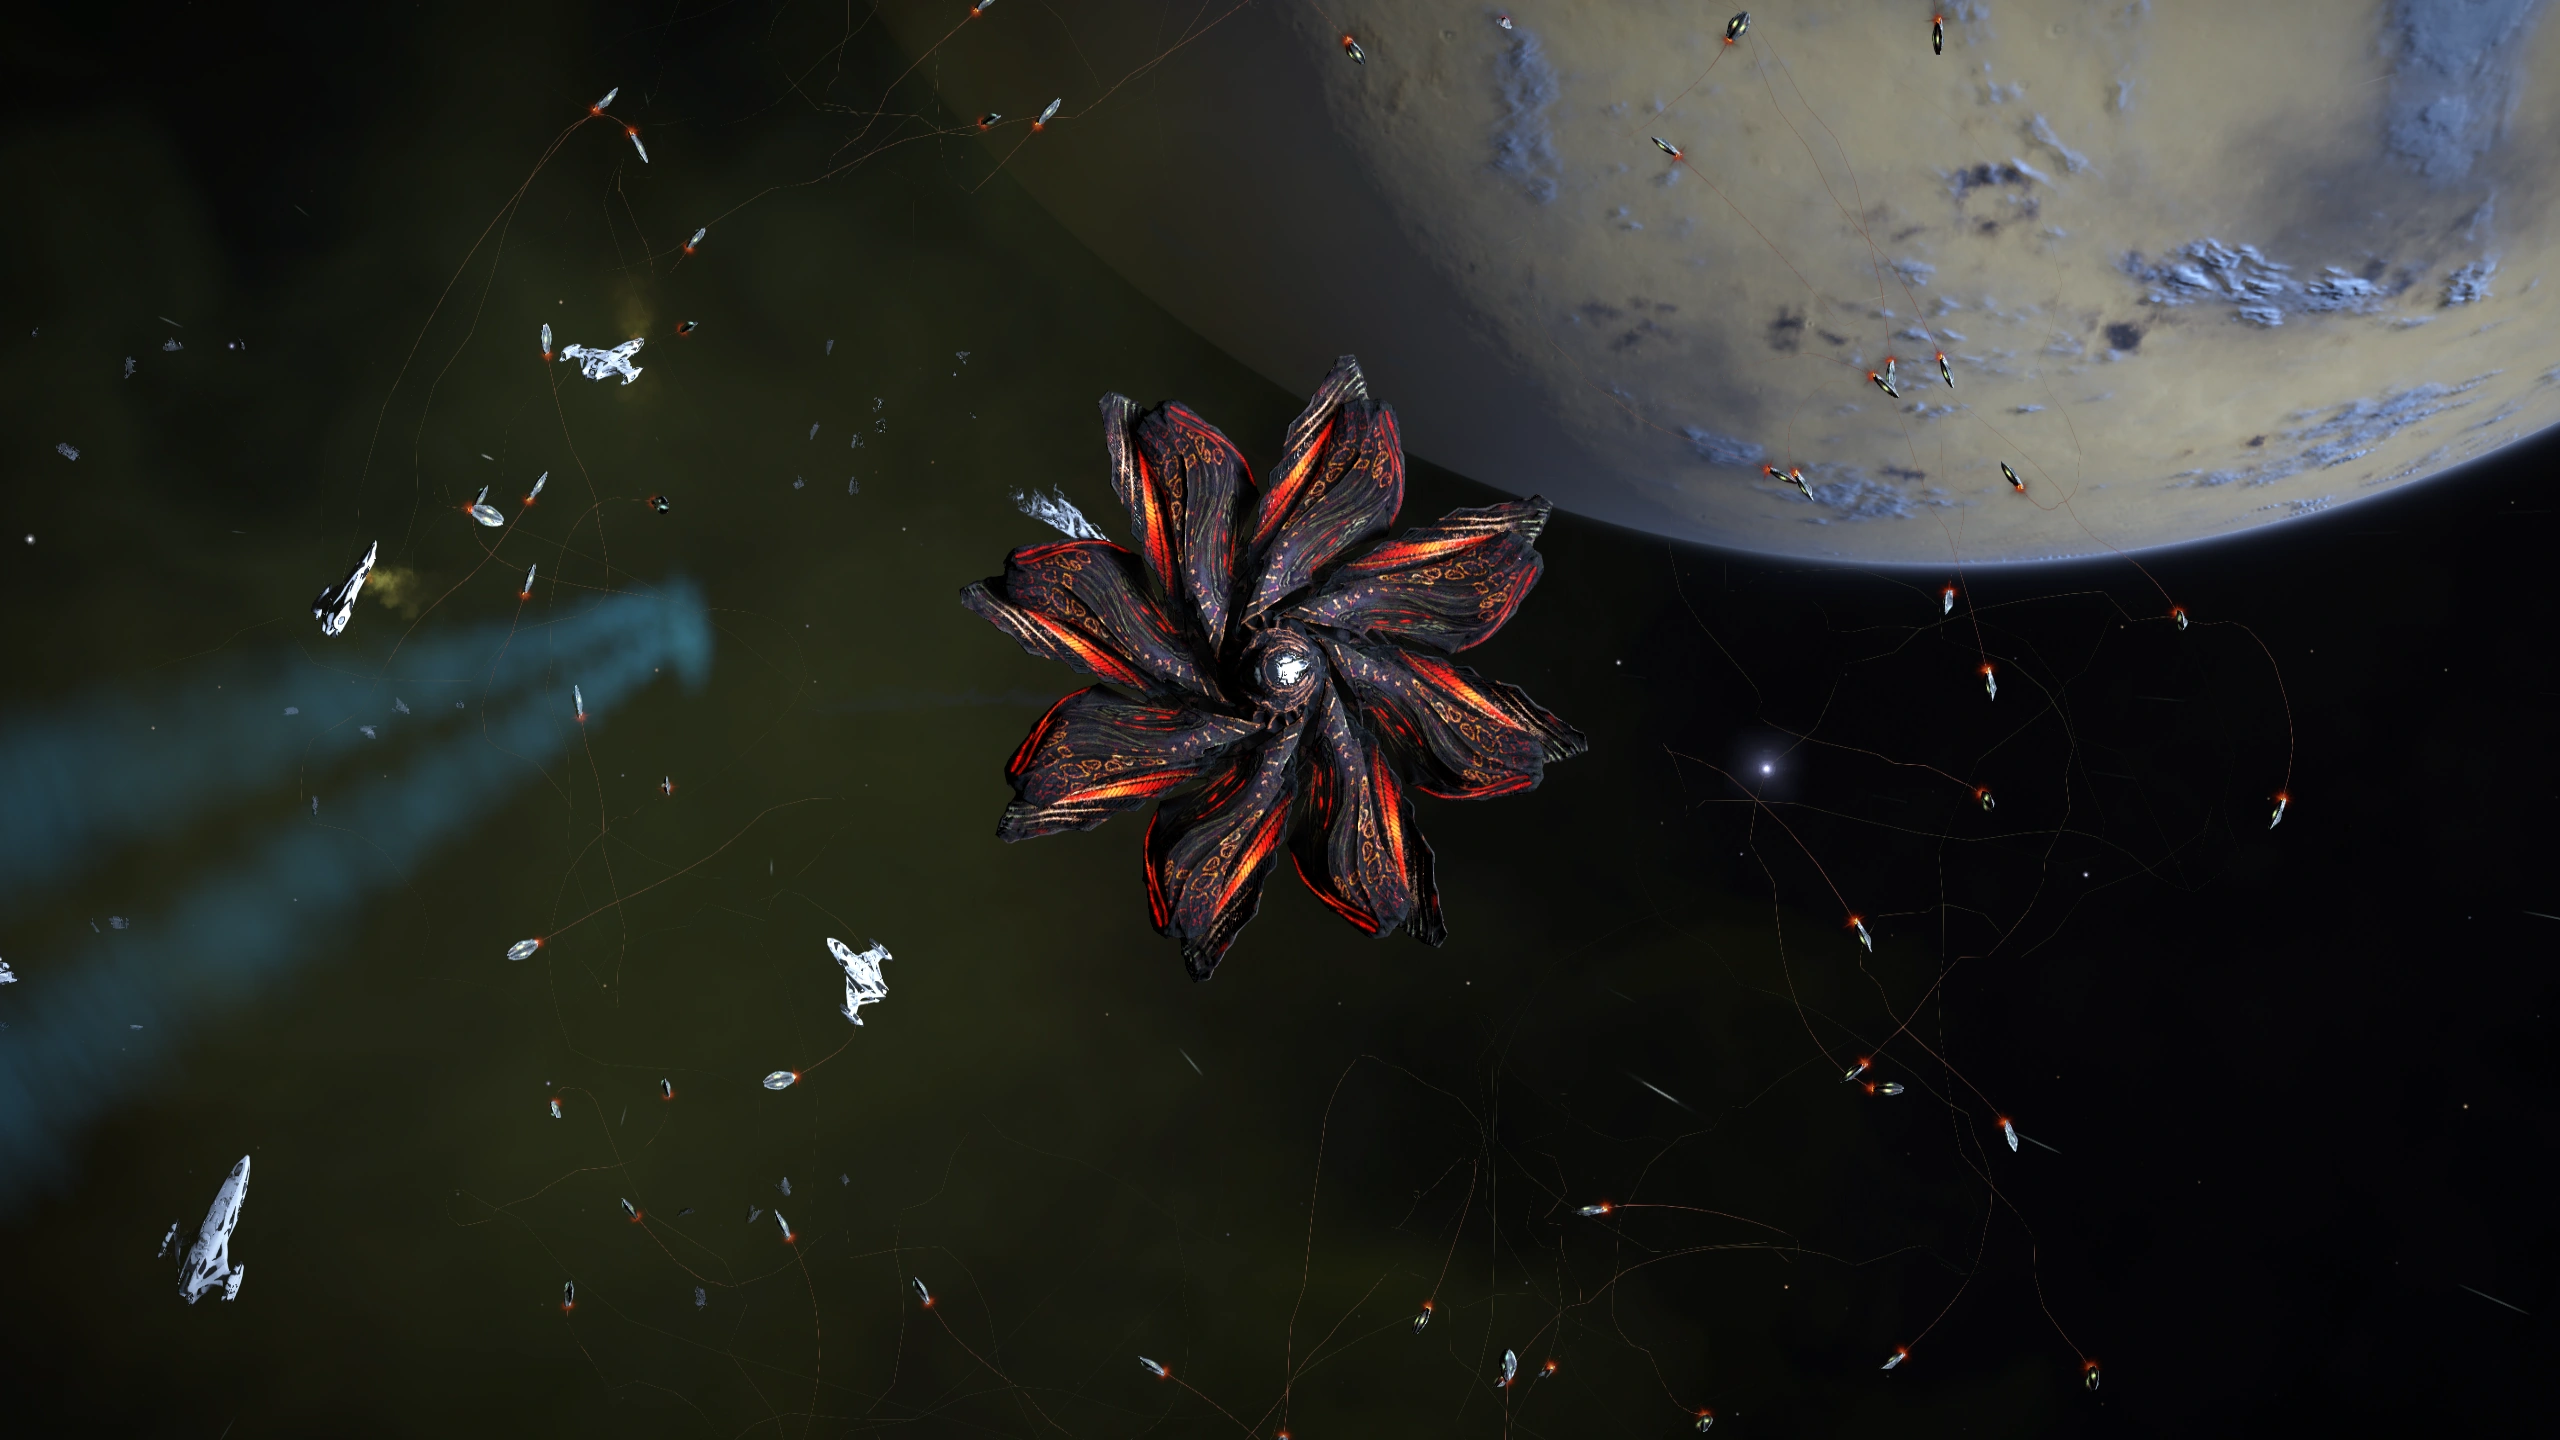
¶ Formations
Swarms will use various formations, these can tell us information about it’s behaviour and how it will react.
¶ Standard
.png)
Left to Right: Cyclops Ball, Medusa Ball
- This is the Cyclops’ only non-missile formation.
- It is also used by the other variants (though more rarely as they prefer their more advanced formations).
This formation is easiest to destroy, requiring only a very few well placed shots in the center of the ball.
.png)
Left to Right: Basilisk Cone, Medusa Cone
- The Cone or Spiral formation is first used by the Basilisk.
- Not uncommon with stronger variants.
Much like the Ball formation, this one is easy to destroy, with only several shots at the tip of the spiral needed.
.png)
Left to Right: Medusa Ring, Hydra Ring
- The dreaded ring formation is the preferred formation with the Medusae and Hydrae.
- The Basilisk also has a ring formation to offer, but it is not nearly as wide.
It is significantly more difficult to destroy than other formations; any flak shells detonating in the hollow center will be ineffective. Widely offset flak (such as on the Cutter’s wings) or manually adjusting to aim offset from the reticle are necessary to deal with this form effectively.
¶ Agitated
.png)
Left to Right: Cyclops Death Wall, Medusa Death Wall
- The Death Wall (Flat Spiral) is the Cyclops’ only missile formation.
- It is also used by the other variants (though more rarely as they prefer their more advanced formations).
.png)
Left to Right: Basilisk Death Spiral, Hydra Death Spiral
- The Death Spiral missile formation is first used by the Basilisk.
- It is not uncommon with stronger variants.
Unlike the regular Cone/Spiral, this formation has a small gap at the center so is more difficult to destroy. Flak shells detonating at the center will cause less damage (but still kill at least a few Thargons).
.png)
Left to Right: Medusa Ring Of Death, Hydra Ring Of Death
- The Ring of Death is used commonly by the Medusa and Hydra
Attempting to destroy this ring is usually not recommended. It can cost much time and ammunition for less experienced flak users - instead the missiles should be baited and the swarm destroyed in a un-agitated or changed formation.
Many Commanders at the Medusa and Hydra stage will also opt to choose a flakless flying style instead. This is entirely optional.
¶ Idle
Basilisk Swarm Idle Mode
- The idle mode is used by all variants
This mode is not part of what we call “regular” formations.
Swarms will take on this mode when “retreating”, after being recalled or when attempting to gain distance from the pilot’s ship after a state-change.
This behavior can be taken advantage of in more advanced swarm-management techniques.
Basilisk with warning swarm
- Warning swarms can be used by all variants
This form is not part of any hostile formations during combat. Released when an Interceptor feels threatend but has not entered combat yet.
Can be taken advantage of by letting part of the swarm destroy itself by hitting debris in signal sources and distress-calls.
¶ State Mechanics
¶ Base behavior
When outside of roughly 3.5km range of its target, the swarm will usually behave in what we refer to as “pursuit” mode. It will take on a regular formation and move straightline at ~500m/s, trying to reduce the distance to its target.
When inside of roughly 3.5 km range of its target, the swarm will slow down and get ready to attack. It will oscillate, swaying back and forth in different directions.
The swarm will use its regular caustic projectile spam attack when in range of ~2km as long as it is in one of the standard-formations. Similar to Interceptors - the Swarm will periodicly break off to rearm / cooldown after firing these.
If the swarm ventures too far from the interceptor that spawned it, or the interceptor loses the signature of the pilot’s ship, or the interceptor wants to refill it; the swarm can be recalled.
When recalled (and when attempting to gain distance after a state-change) the swarm behaves in what some refer to as “retreat or fleeing”. During this it will break the current formation to its idle-mode.
¶ Standard vs Agitated
The Thargon swarm can exist in one of two states. These states are independent of formations, and the only thing that triggers a state change is the swarm passing through a ship. We shall refer to these states as ‘Standard’ and ‘Agitated’.
When a swarm is deployed, it is always in the Standard state. While in this state it will never enter a missile formation, not even if the Interceptor is enraged. In addition to this, a swarm deployed while an Interceptor is enraged is also initially in the Standard state.
This state changes only if the swarm passes through a ship. (The state won’t change to Agitated for a short time after the swarm is released for a period of up to 30s, even if a ship boosts through the swarm).
When the swarm passes through a ship it enters the Agitated state. This state is visually indistinguishable from the Standard state, but it differs in the fact that while in this state the swarm will periodically (every 20-30s) enter a missile formation cycle.
Missile formations are slower than the regular ones (360m/s as opposed to 500m/s), a swarm will remain in missile formation for the entire cycle as long as it remains in effective range of the Interceptor without getting recalled, or until it deploys several missiles (usually 10-15% of the swarm’s maximum number).
After deploying missiles it will revert to a random regular formation and remain in Agitated state. This state will only end if the swarm passes through a ship once more, “un-agitation”, or if the swarm is killed and a new one takes its place.
¶ Dealing with the Swarm
There are two main methods in this regard; using the remote release flak launcher to destroy the swarm, and flying flakless while avoiding the swarm entirely. While both methods have their pros and cons, it is advisable to learn how to use the flak launcher when starting out. As you gain experience, you may decide if flak, flakless, or a mix of both is right for you.
A swarm can be kept in the standard state for the entire duration of the fight, simply by never agitating the swarm. This means that agile ships can avoid using flak altogether. The low accuracy of the swarm’s caustic projectiles against shieldless targets combined with the lack of thargon missiles eliminates a large portion of the threat that the swarm presents. This does require a fair bit of situational awareness and orbital finesse, as pilots must adjust their orbit around the interceptor to prevent agitations. Watch your radar contacts closely.
If the swarm at any point enters an agitated state, one can bait the missiles before boosting through the swarm, reverting it back to the Standard state.
Visit the Dealing with the Swarm page to learn about techniques and counters to handle the swarm, as well as a guide on using the Flak Launcher.